Afterimage Maker
User Guide
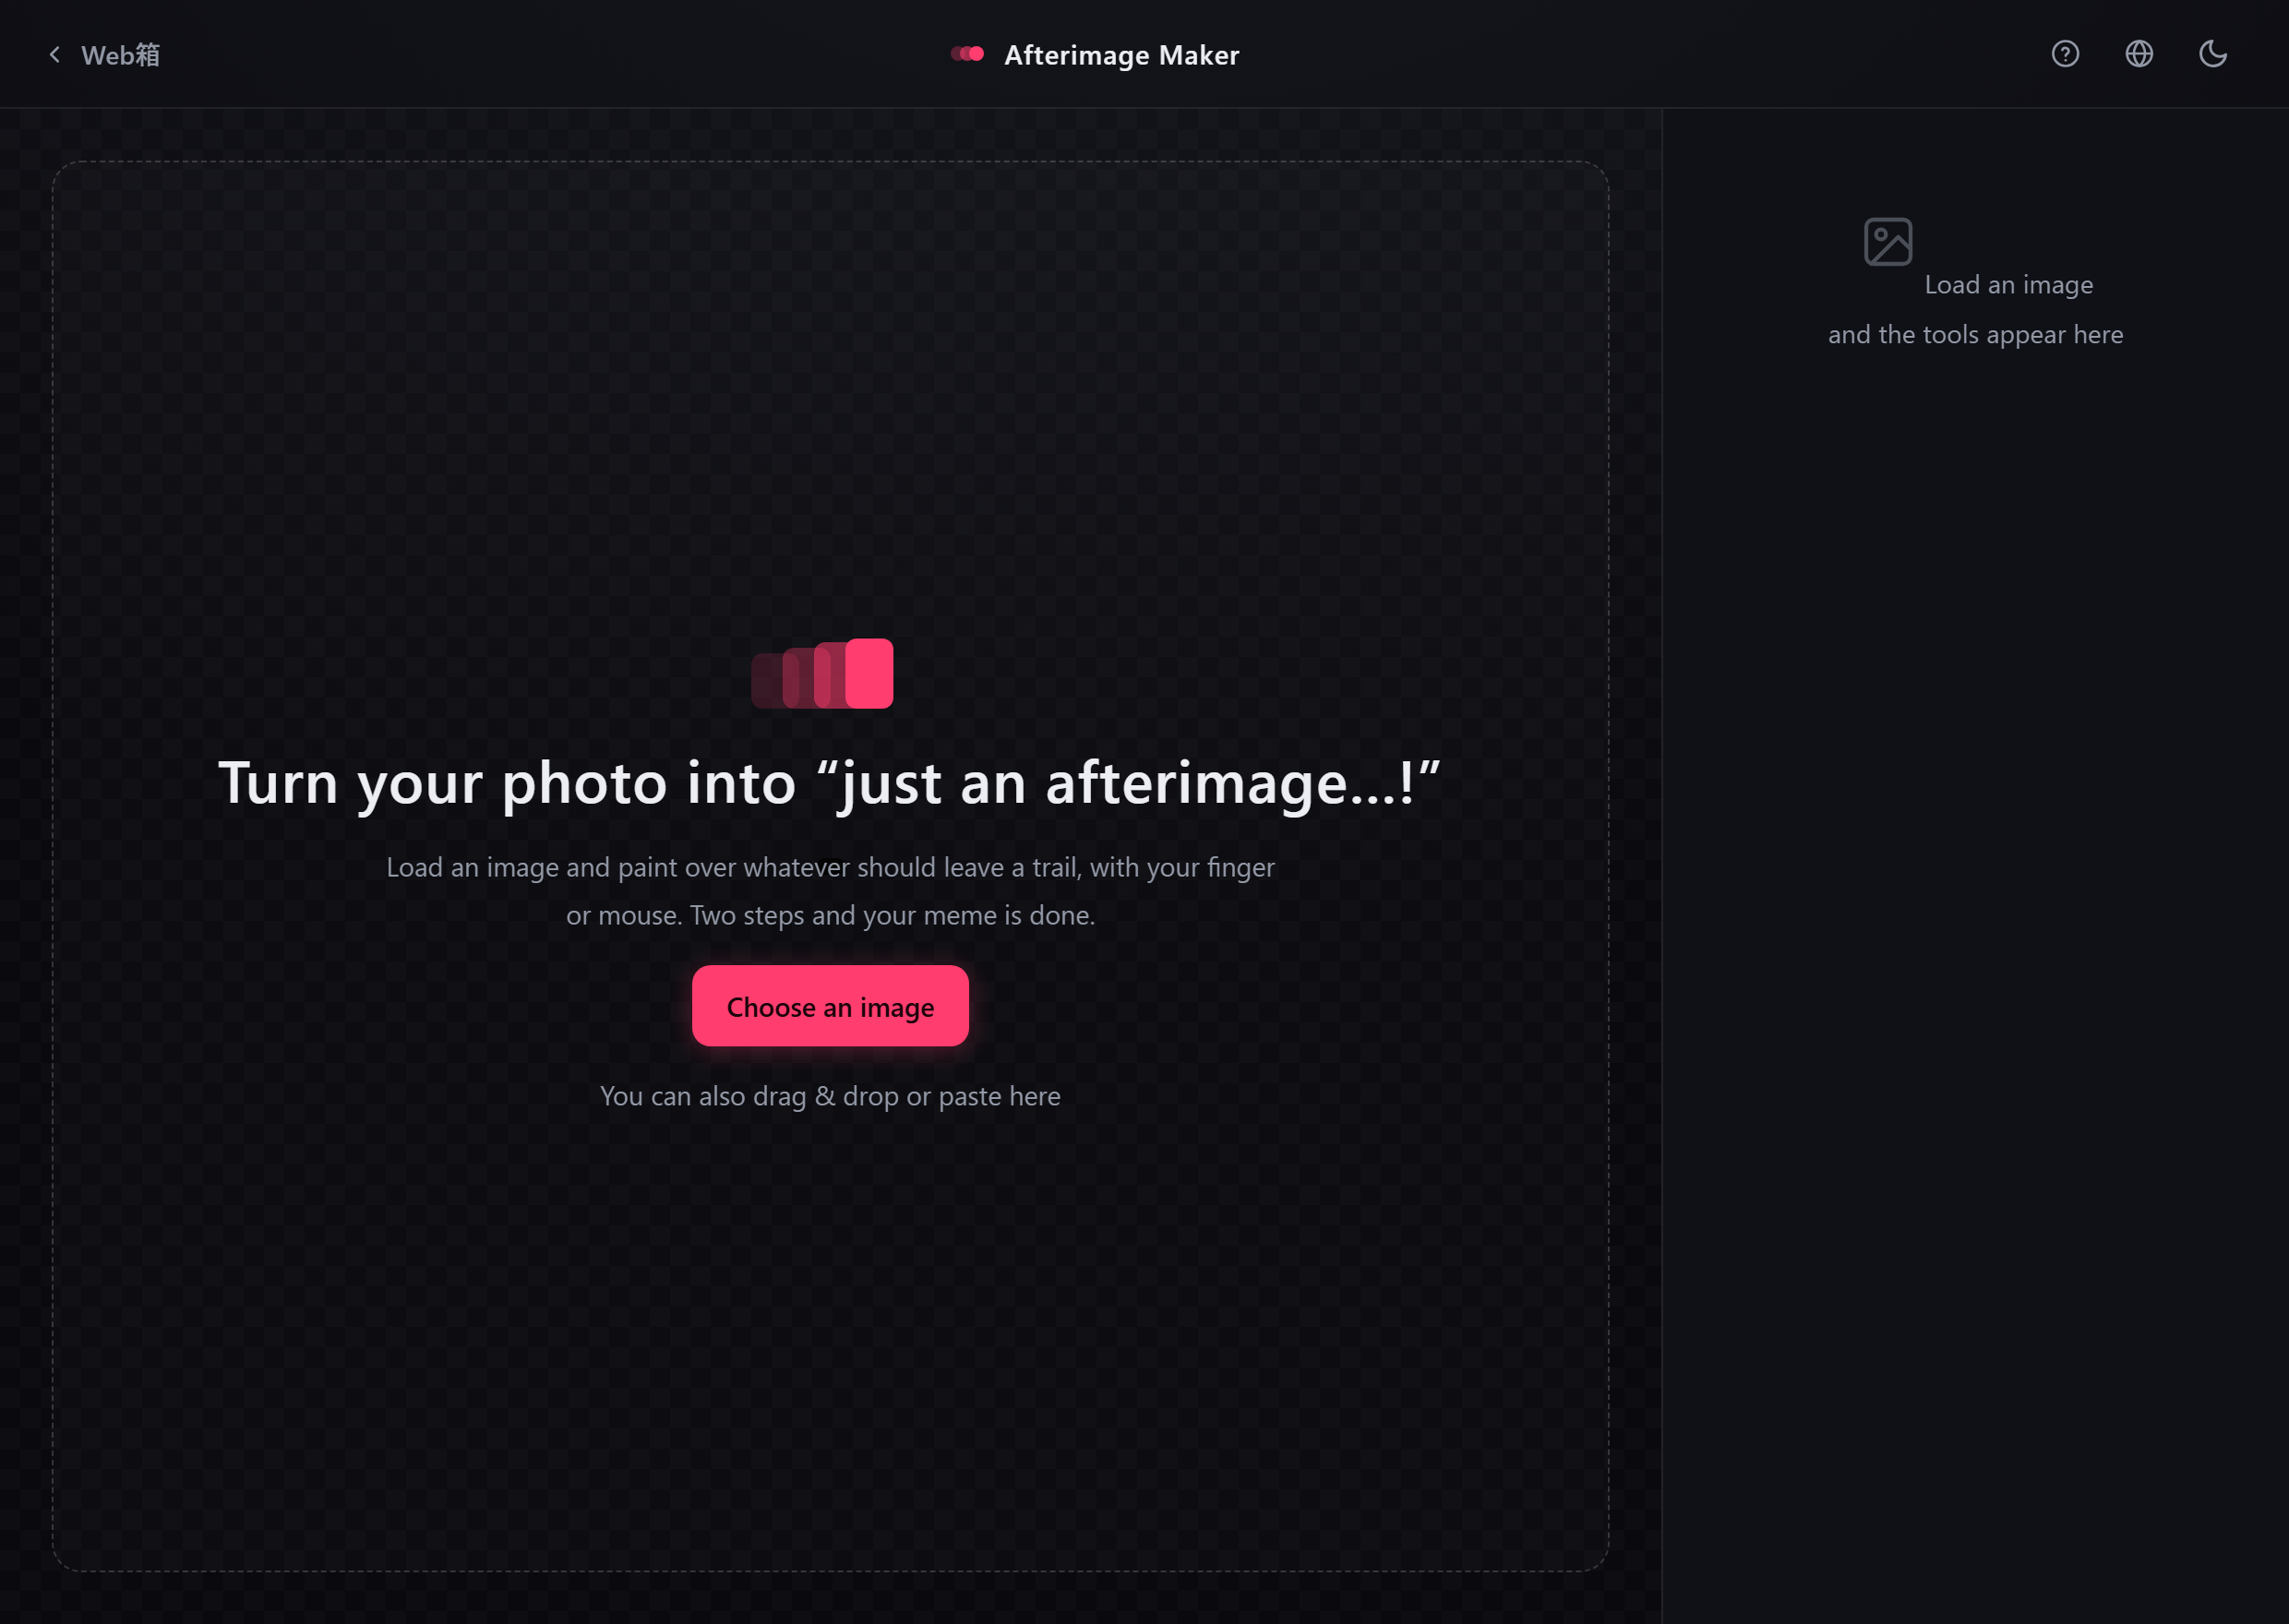
Trace over whatever should look like it is moving, with your finger or mouse, and turn a photo into a manga-style meme with motion trails. You can add an angel halo and speech bubbles too. No sign-up, free, nothing to install. Your image is processed inside the browser and is never uploaded anywhere.
1How the screen is laid out
When you open the app, the image area sits on the left (top on a phone) and the tool panel on the right (bottom on a phone). The work is two steps: “1 Paint” → “2 Effects”.
- 1 Paint — trace over whatever should leave a trail.
- 2 Effects — adjust how the trail looks and add a halo or speech bubble.
You can move between the two at any time with the buttons at the top of the panel. If you want to repaint, just go back to “1 Paint”.
2Loading an image
There are three ways to load an image. They all do the same thing.
- Press the “Choose an image” button and pick a file
- Drag & drop an image file onto the page
- Paste a copied image with Ctrl+V (⌘+V on Mac)
3Step 1: painting (choosing the subject)
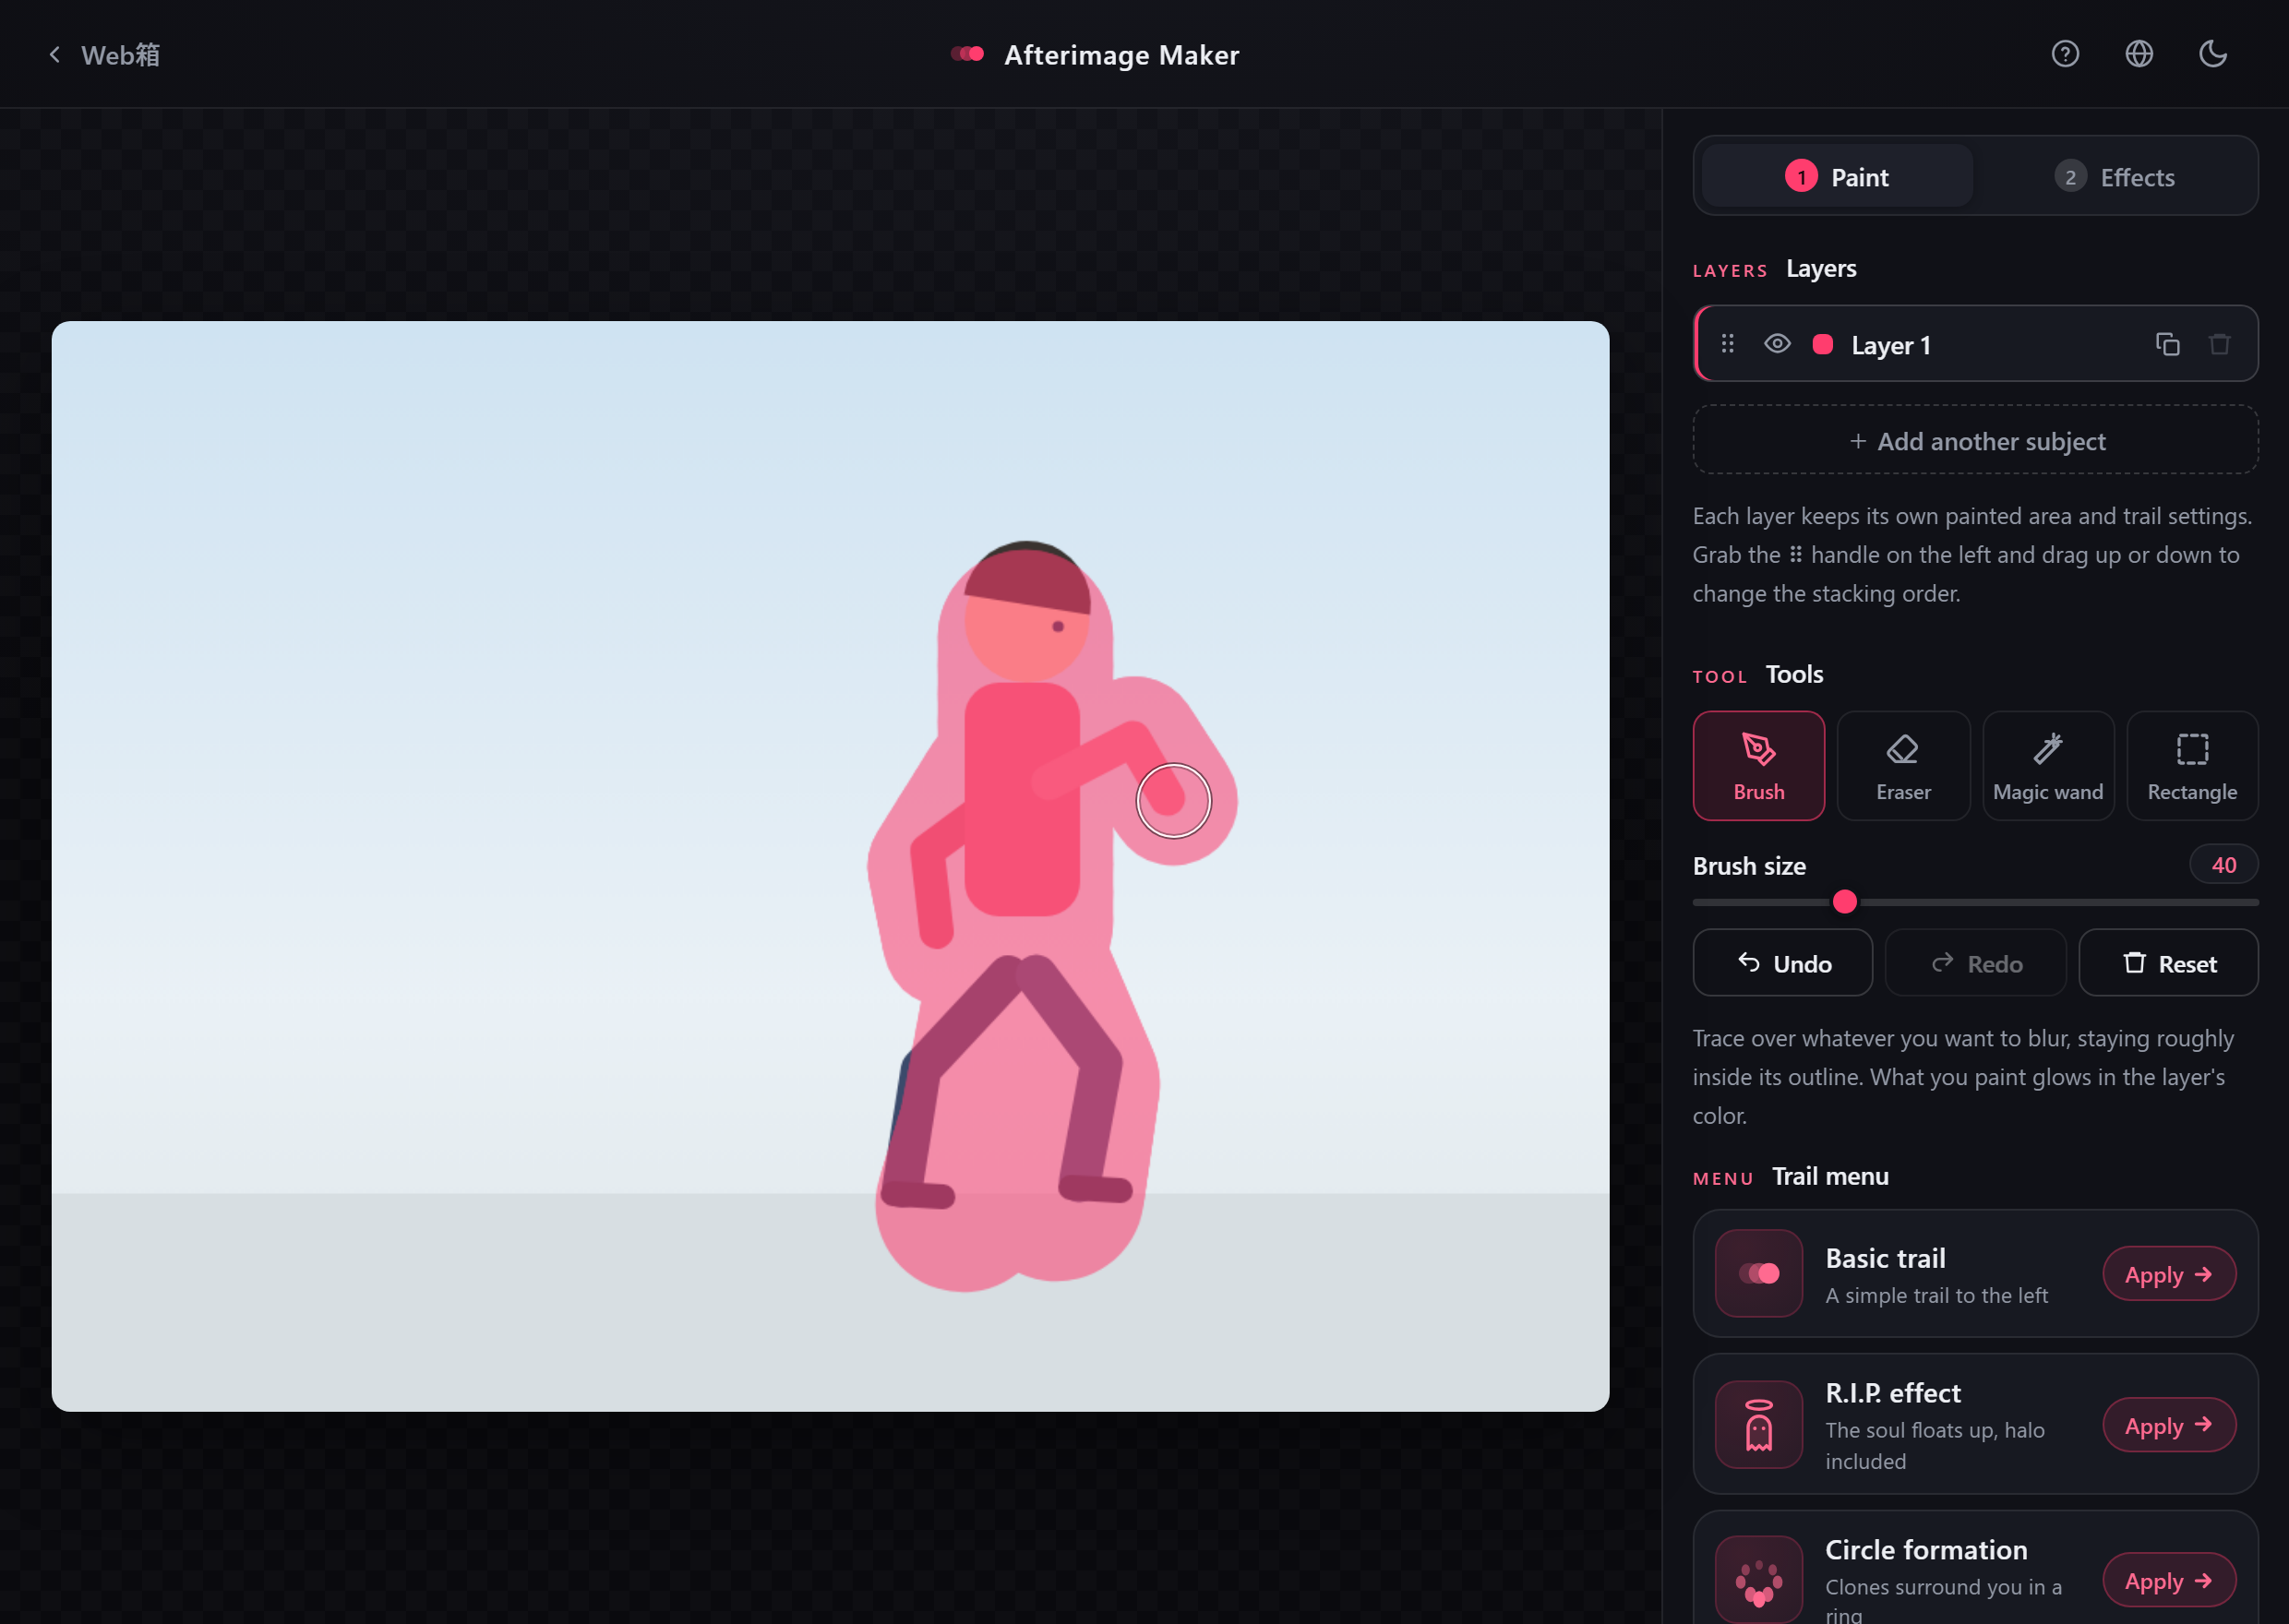
Trace over the person or object you want to blur. What you paint glows in that layer’s color, so you can see exactly what is selected (the first layer is pink, the second light blue, and so on).
The four tools
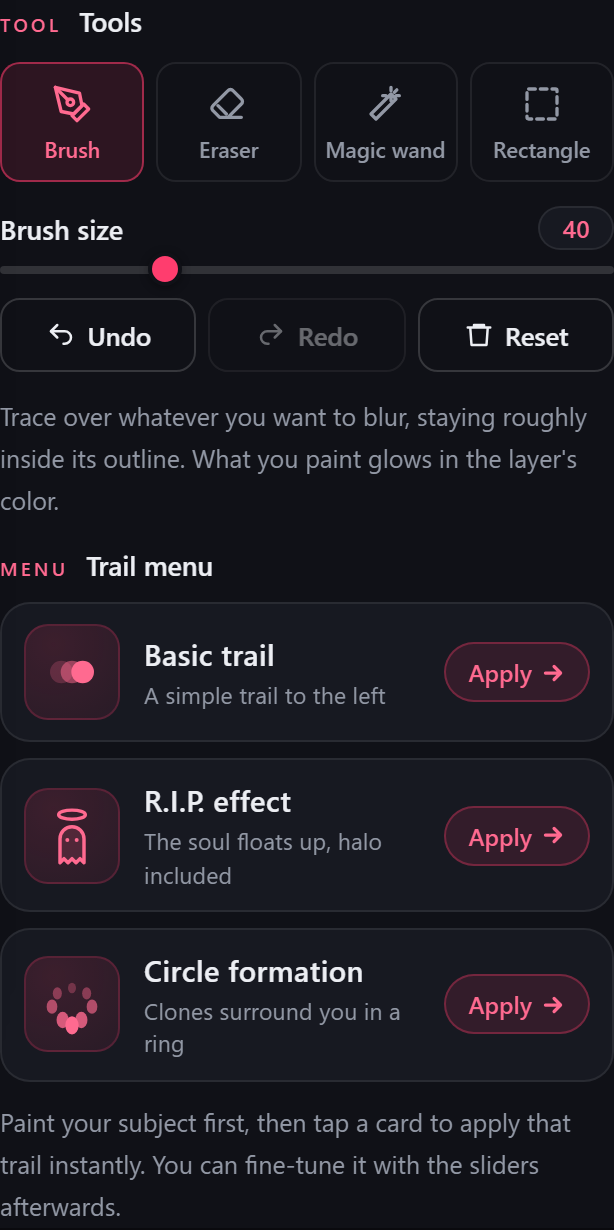
- Brush — paints wherever you trace. For most jobs this is all you need.
- Eraser — removes paint you went over.
- Magic wand — selects the whole area of similar color around the point you click. Handy when the background is a single color. It shows a “Color tolerance” slider: lower it if too much gets selected, raise it if too little does.
- Rectangle — paints the rectangle you drag out.
The brush size is set with the slider. Use a thin brush for detail and a thick one for broad areas to finish faster.
How precise should you be?
You do not need a clean cut-out. A rough trace that stays roughly inside the subject gives a convincing trail. The closer the background is to a single color, the less a little overspill shows.
The round cursor that shows where you paint
- Computer — with the brush or eraser selected, a circle the exact size of the stroke follows the mouse (a dotted circle for the eraser).
- Phone or tablet — press and hold and a circle appears at your fingertip, then drag to paint. If you drag quickly, painting starts immediately without waiting for the long press.
Undo and reset
- Undo / Redo — take back the last stroke, or take back the undo.
- Reset — returns all painting and layers to their initial state (the loaded image stays). You will be asked to confirm.
4Layers
A “layer” is one group of things that get a trail. Use several when you want different trails on different subjects in the same photo (say, a runner trailing left and a ball trailing right). For a single trail, just use “Layer 1”, which is there from the start.
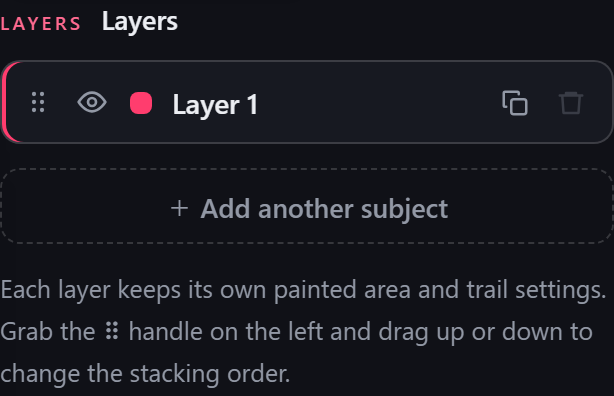
- + Add another subject — creates a new layer. After adding one, paint its subject.
- Tap or click a row — switches which layer you are editing. The selected layer has a pink bar on its left edge.
- Name — tap the text to rename it (this also selects that layer for editing).
- Eye icon — shows or hides that layer.
- ⠿ (handle on the left) — drag up or down to change the stacking order. Rows further down are drawn in front.
- Duplicate / Delete — shown on the selected row. Duplicating copies both the painted area and the trail settings.
5Trail menu (the easy way)
You can get a classic trail with a single tap on a card, without adjusting anything. Once you have finished painting, this is the best place to start.
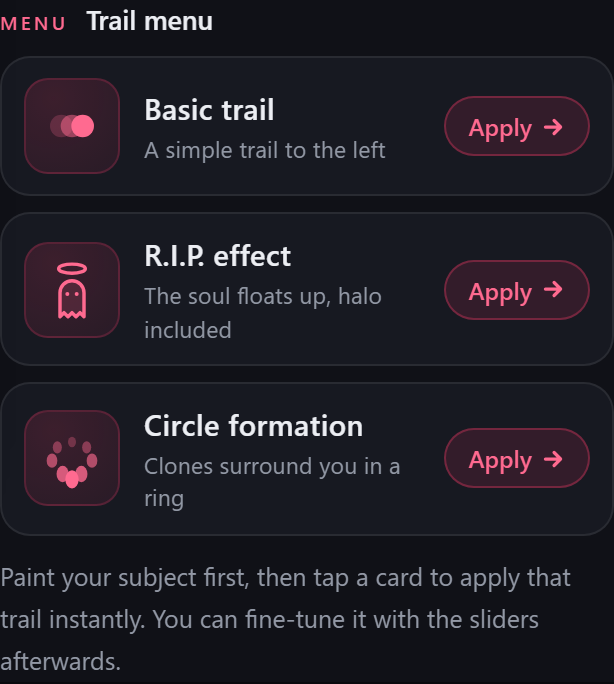
Tapping a card applies the trail and takes you straight to the “2 Effects” screen. You can still fine-tune it with the sliders afterwards.
Basic trail
Adds a simple trail to the left. The easiest and most useful of the three.
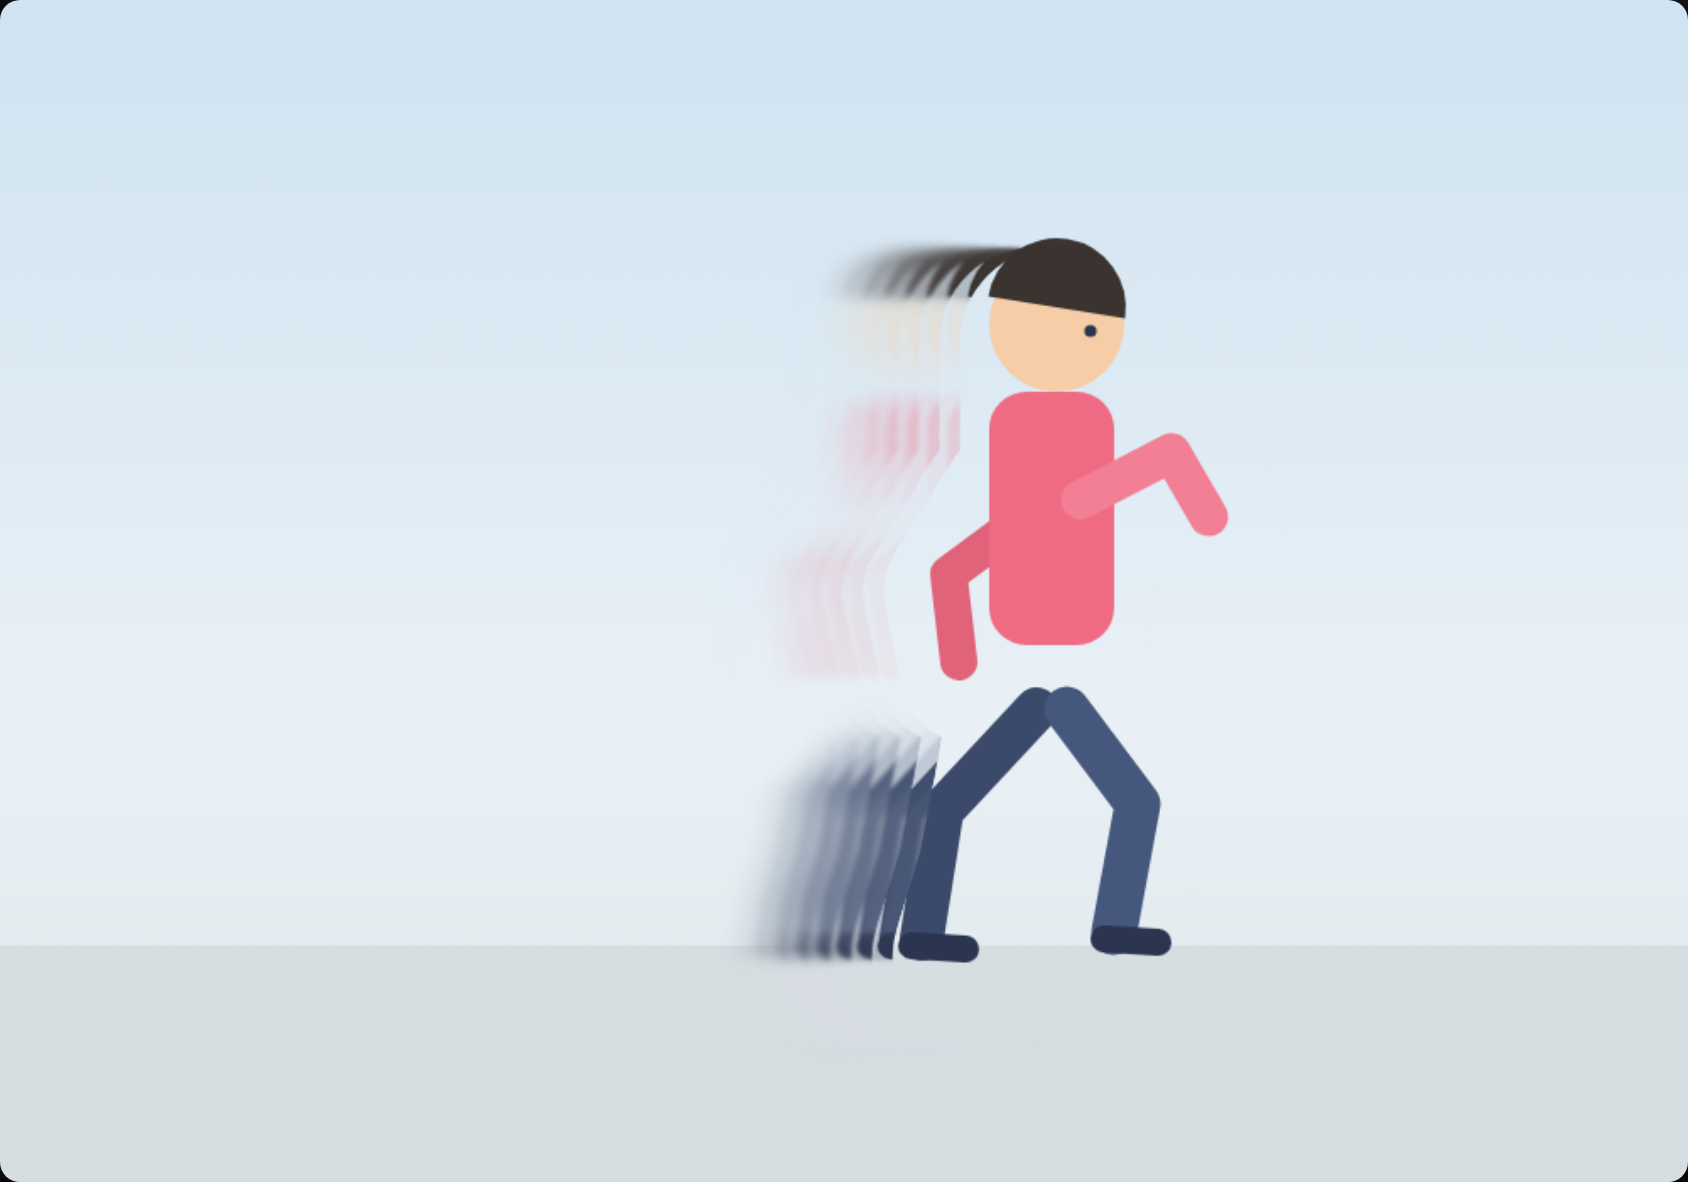
R.I.P. effect
Makes the trail drift gently upwards like a departing soul and adds an angel halo automatically. The halo is positioned above the painted subject, calculated for you.
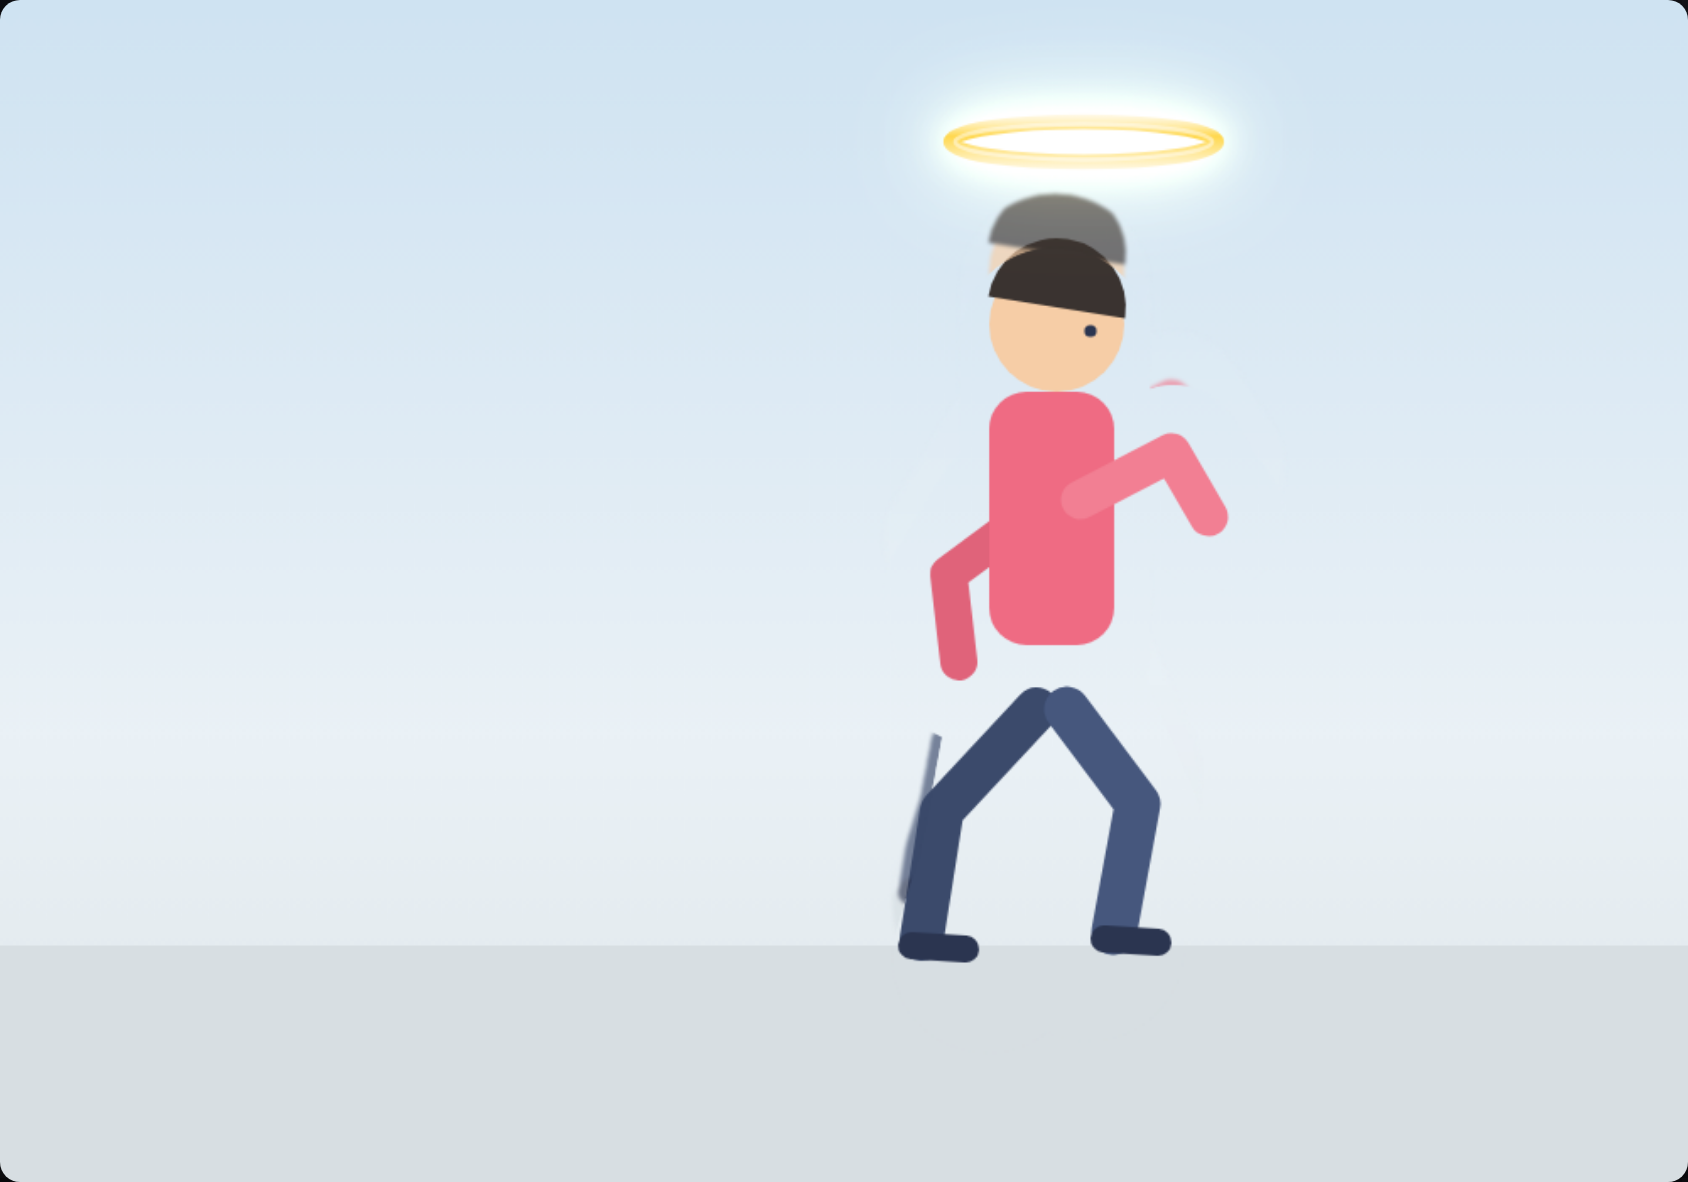
Circle formation
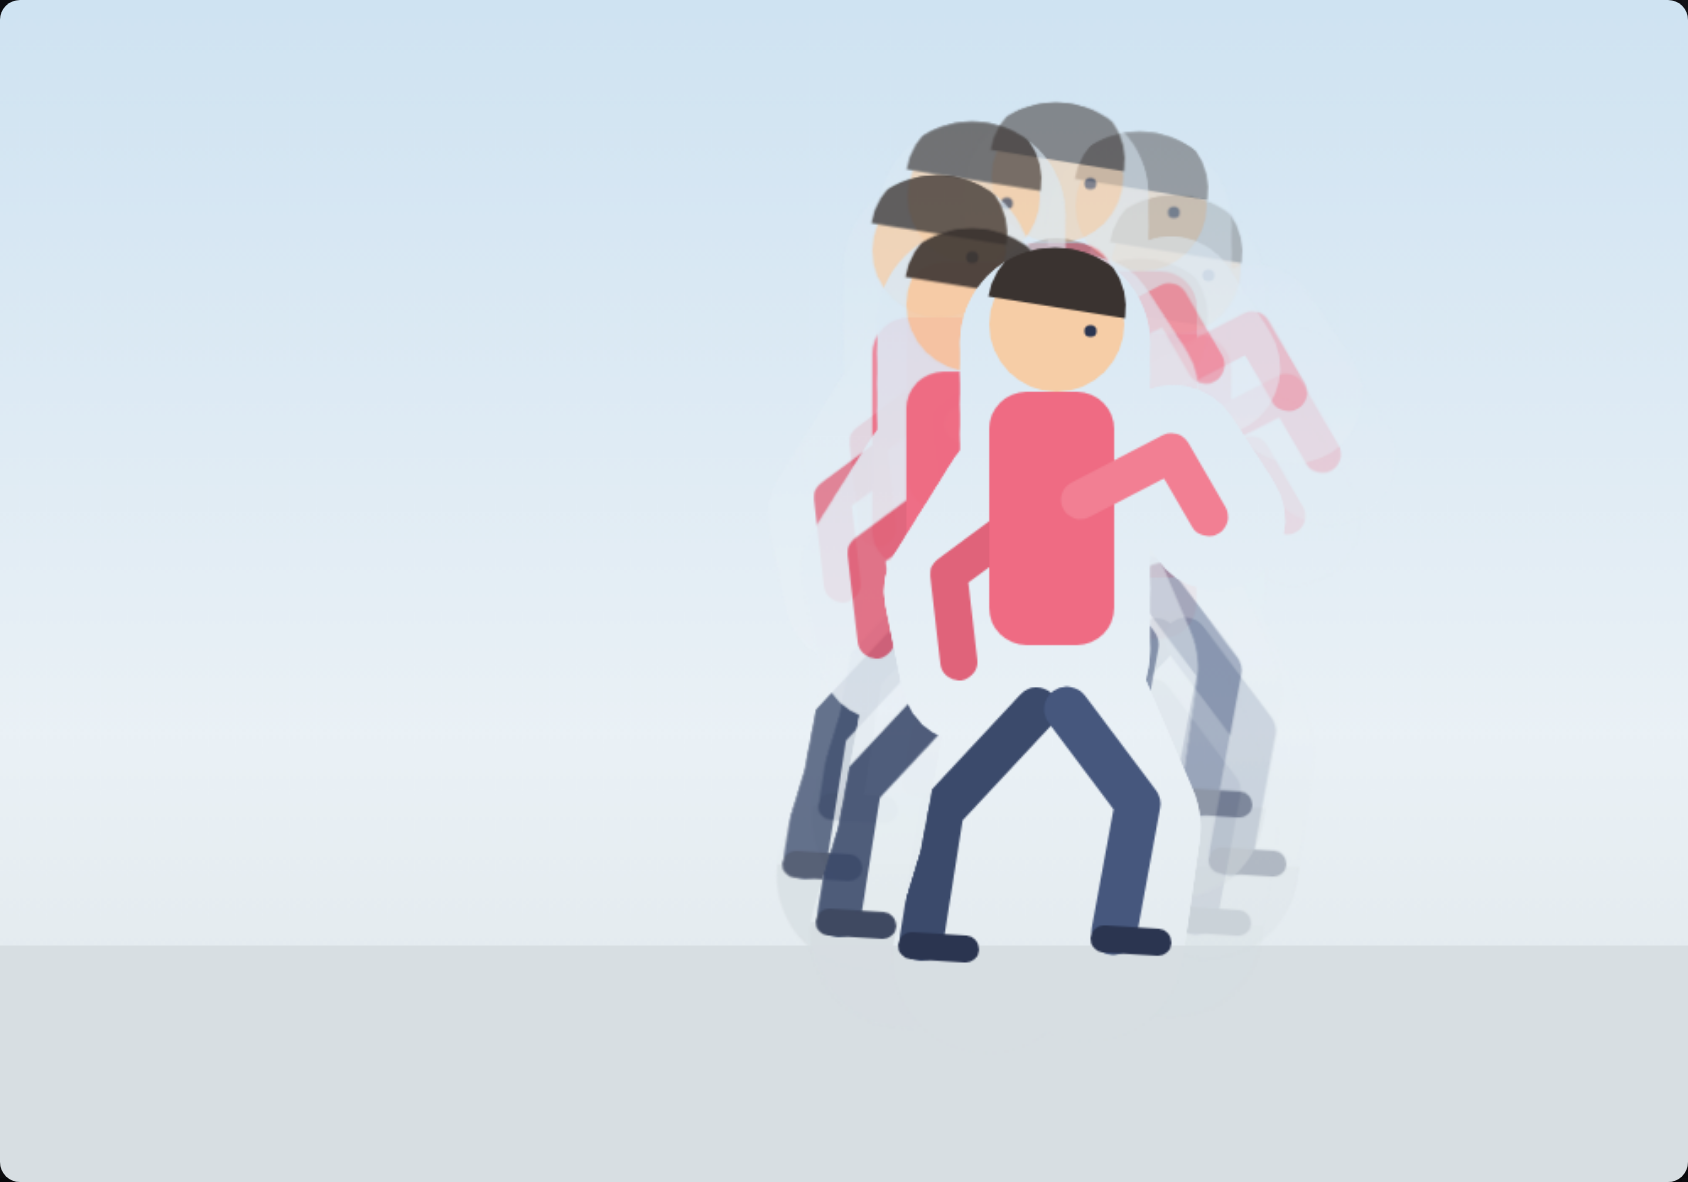
Your painted subject leads and the clones line up in a ring, getting smaller and fainter towards the back.
6Step 2: fine-tuning the trail
The “2 Effects” screen has three tabs: “Trail”, “Halo” and “Speech”. Let us start with the Trail tab. These settings are stored per selected layer.
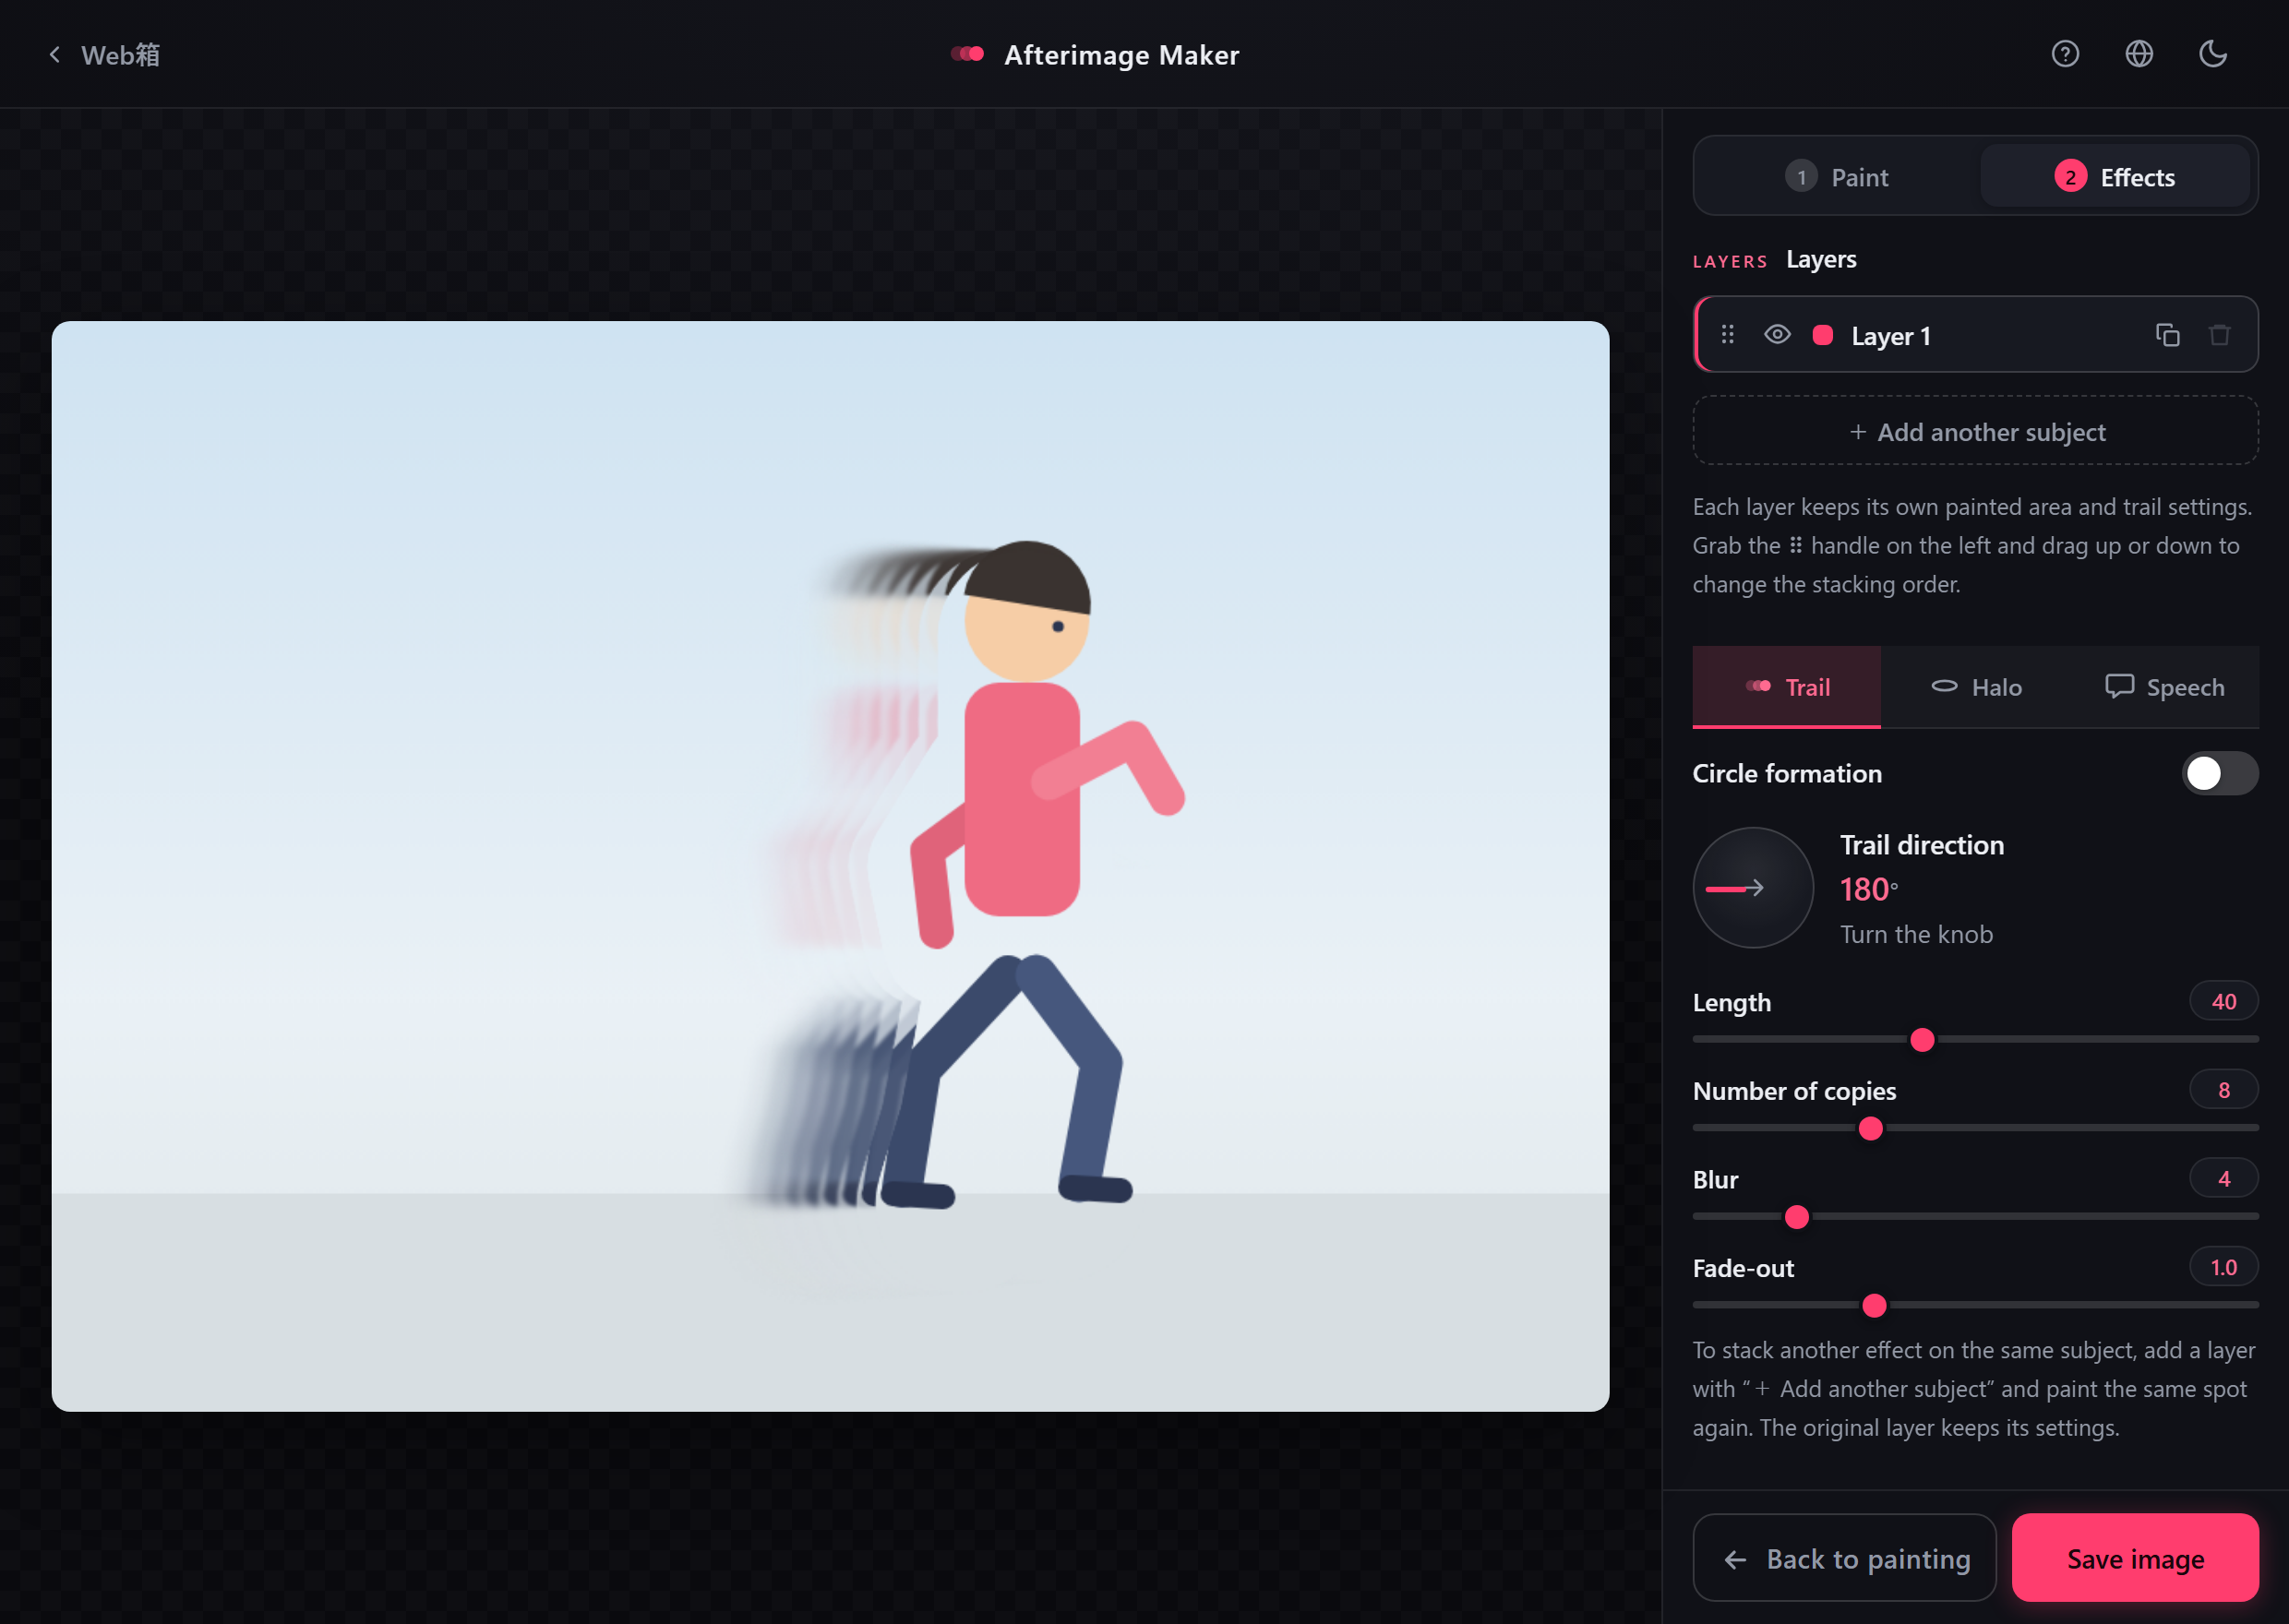
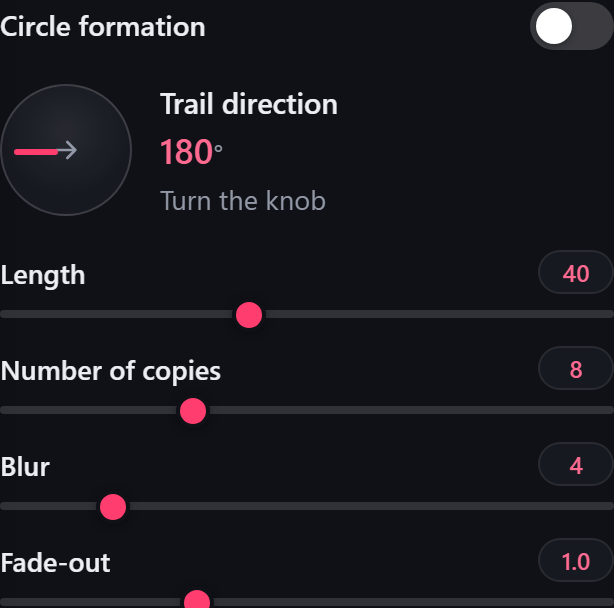
- Trail direction — turn the round knob to set which way the trail stretches (straight up is 270°, for example).
- Length — how far the trail reaches. Larger values give more momentum.
- Number of copies — how many clones are layered. More is smoother; fewer looks like stop-motion frames.
- Blur — how much the trail smears. More blur means more speed.
- Fade-out — how quickly the trail disappears. Lower keeps it visible further away; higher makes it vanish sooner.
7Circle formation
Turn on “Circle formation” at the top of the Trail tab and, instead of streaming sideways, the copies line up in a ring. The “Circle formation” card in the previous chapter simply applies these settings for you.
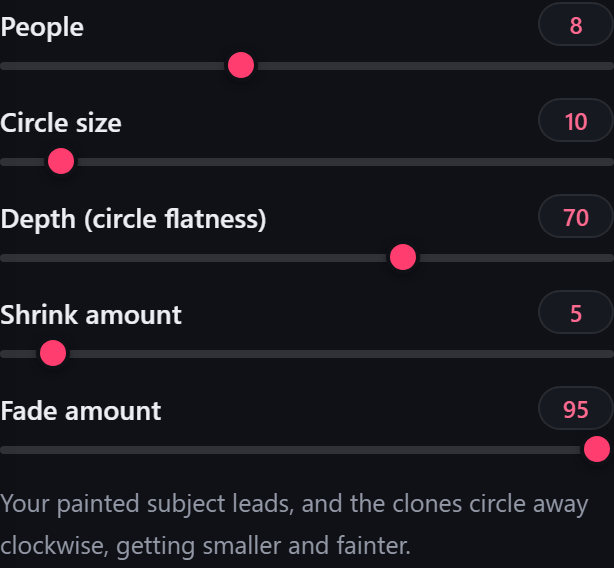
- People — how many stand in the ring (3–16).
- Circle size — the width of the ring. Larger spreads them out.
- Depth (circle flatness) — how much the ring is squashed vertically. Low looks like a single row; high looks like a circle with depth.
- Shrink amount — how much smaller the copies get towards the back.
- Fade amount — how much fainter the copies get towards the back.
While circle formation is on, the usual trail settings such as “Trail direction” are hidden. Turn it off and your previous settings come straight back.
8Angel halo
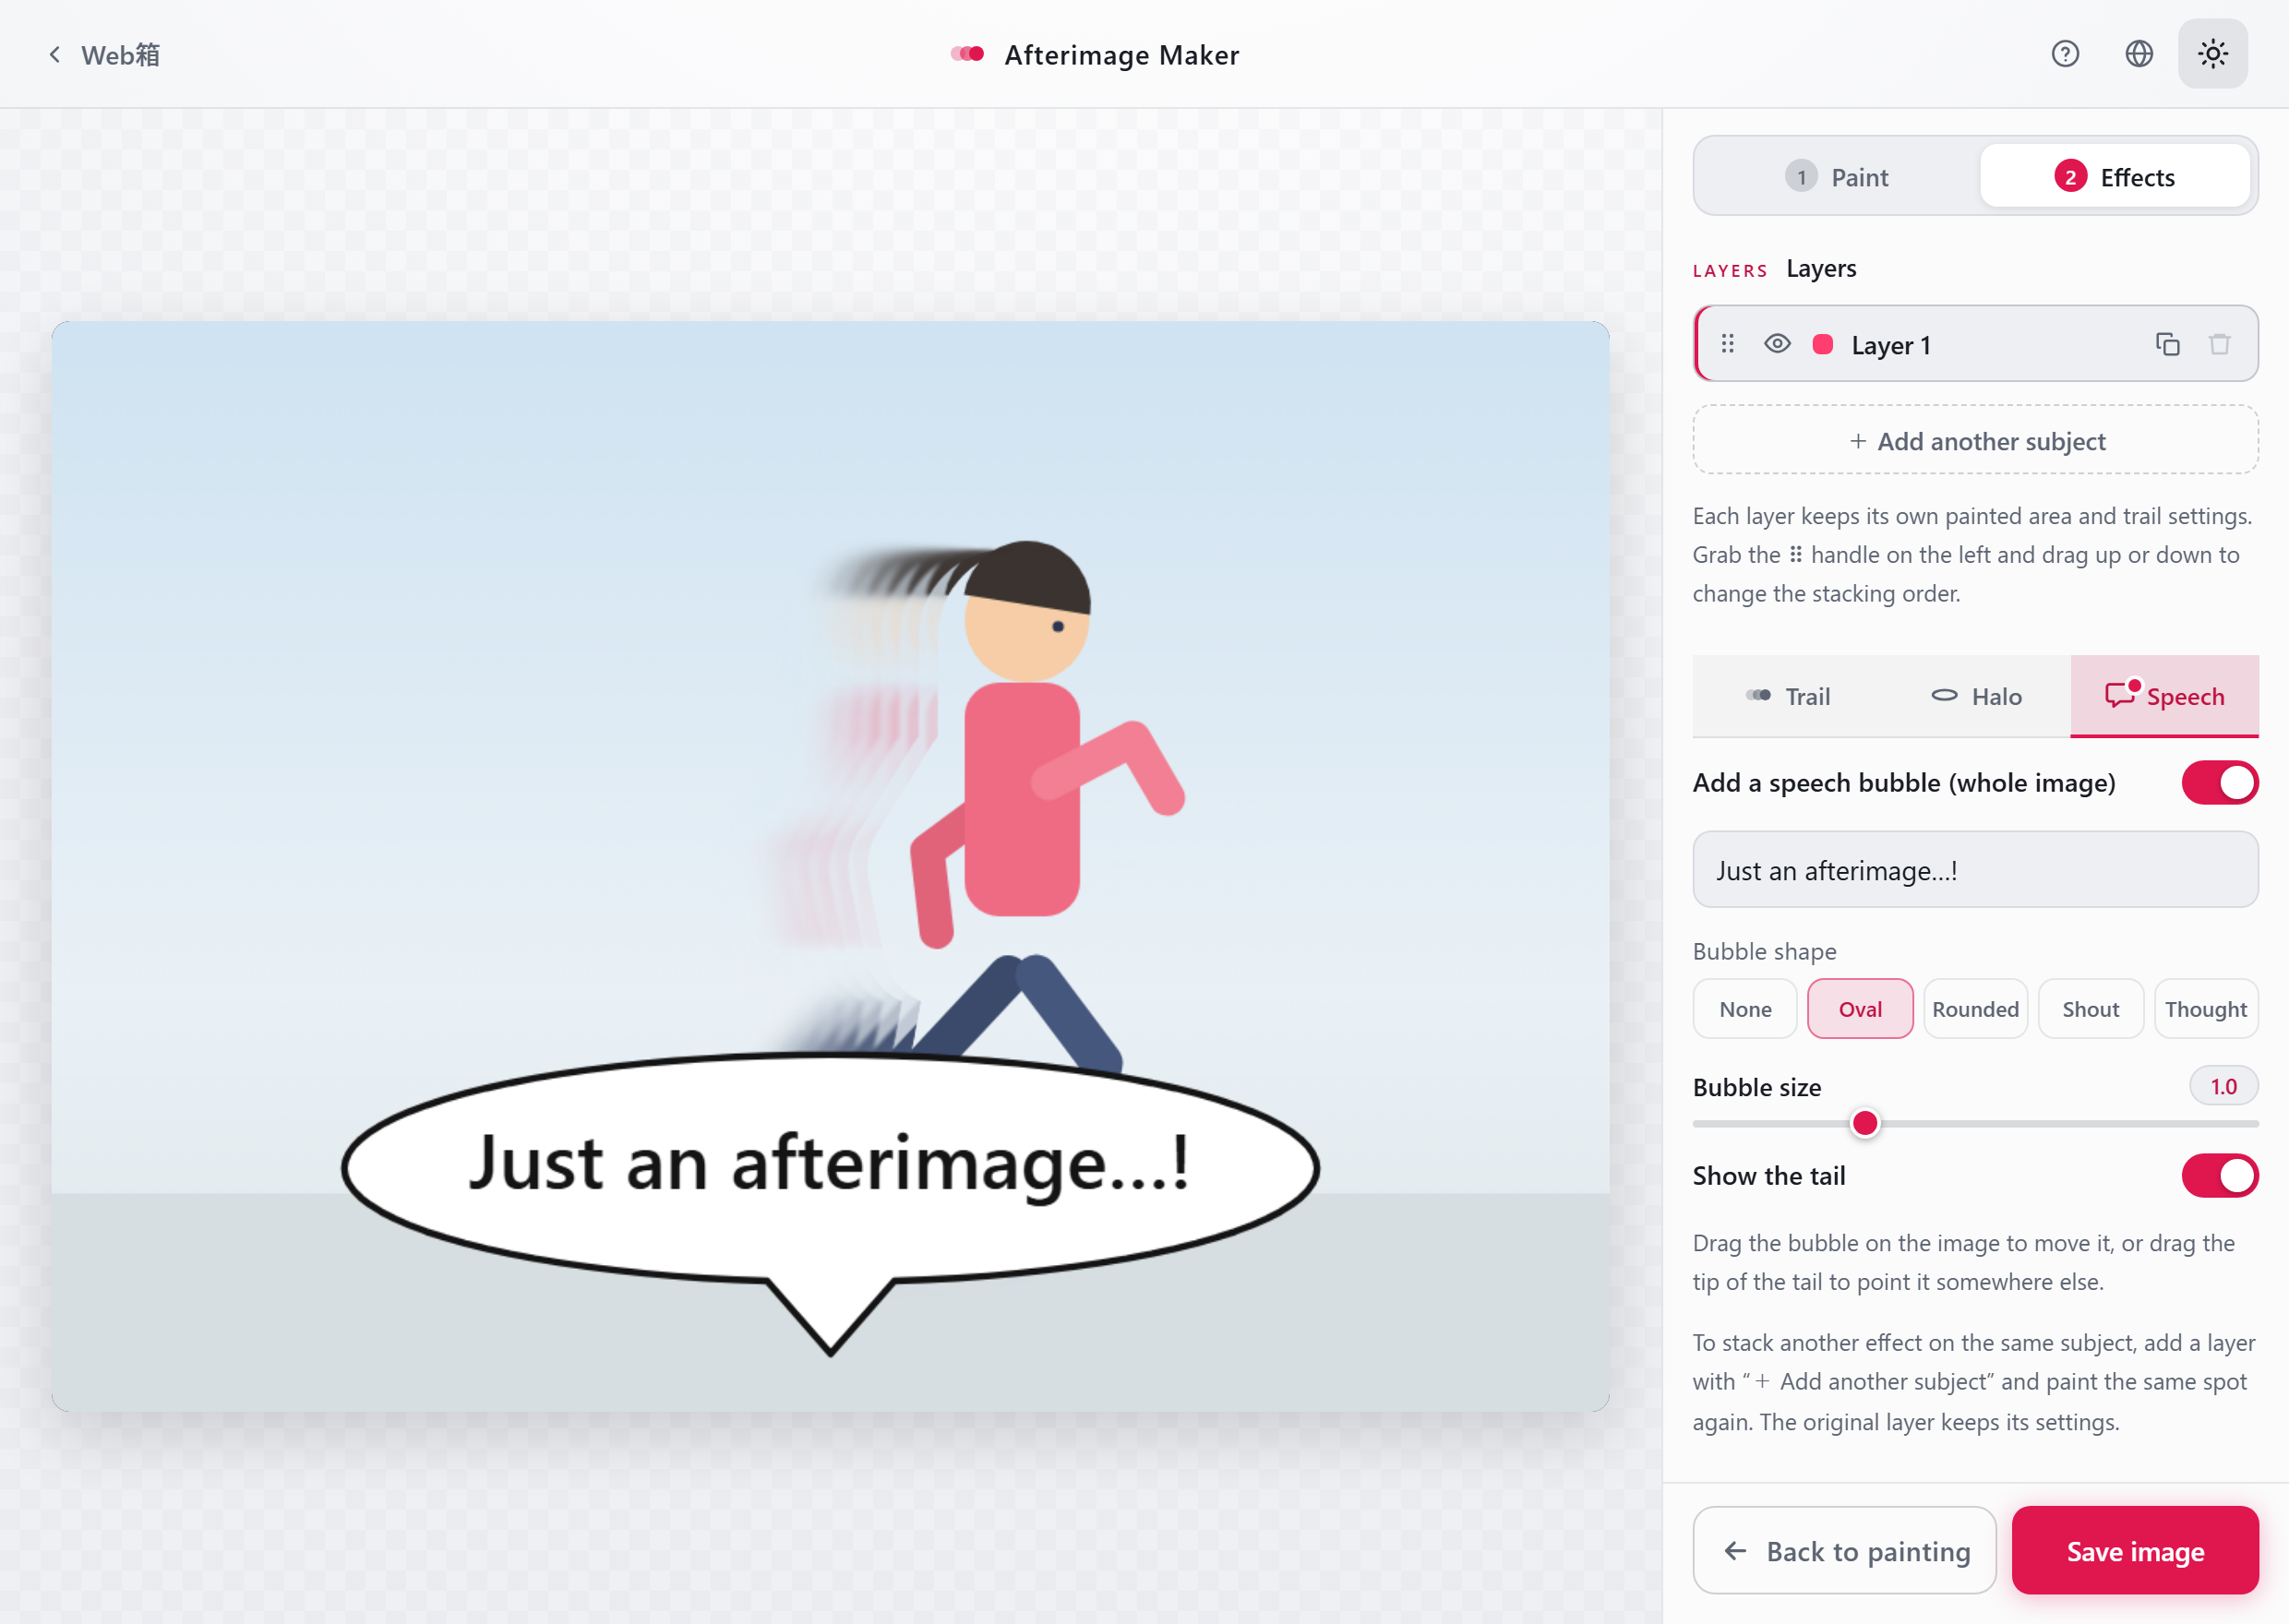
Flip the switch on the “Halo” tab to lay a glowing ring over the image. Drag it on the image to put it wherever you like.
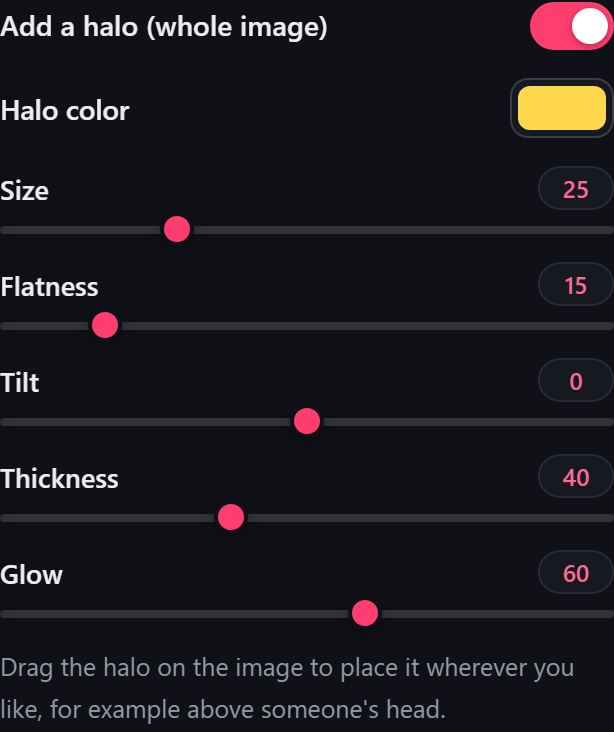
- Halo color — any color you like (gold by default).
- Size — the diameter of the ring.
- Flatness — whether it looks like a circle seen from above or a thin ellipse seen from the side.
- Tilt — tips the ring left or right.
- Thickness — how thick the ring line is.
- Glow — how strongly it shines around the ring.
9Speech bubbles
Flip the switch on the “Speech” tab and type some text to show a bubble. Drag the bubble on the image to move it.
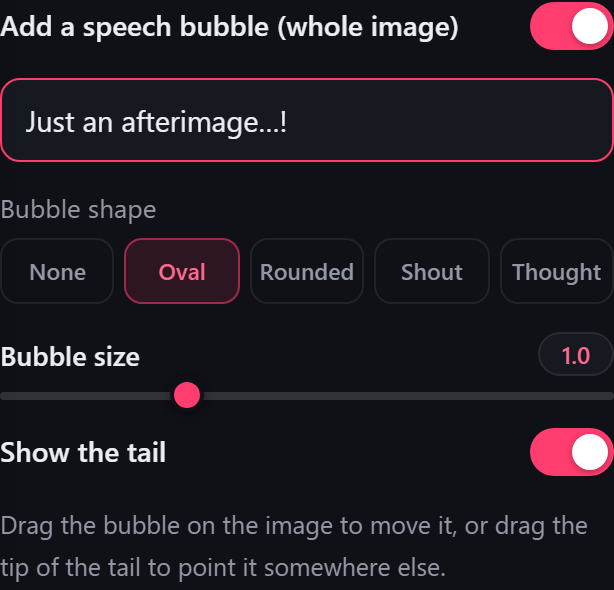
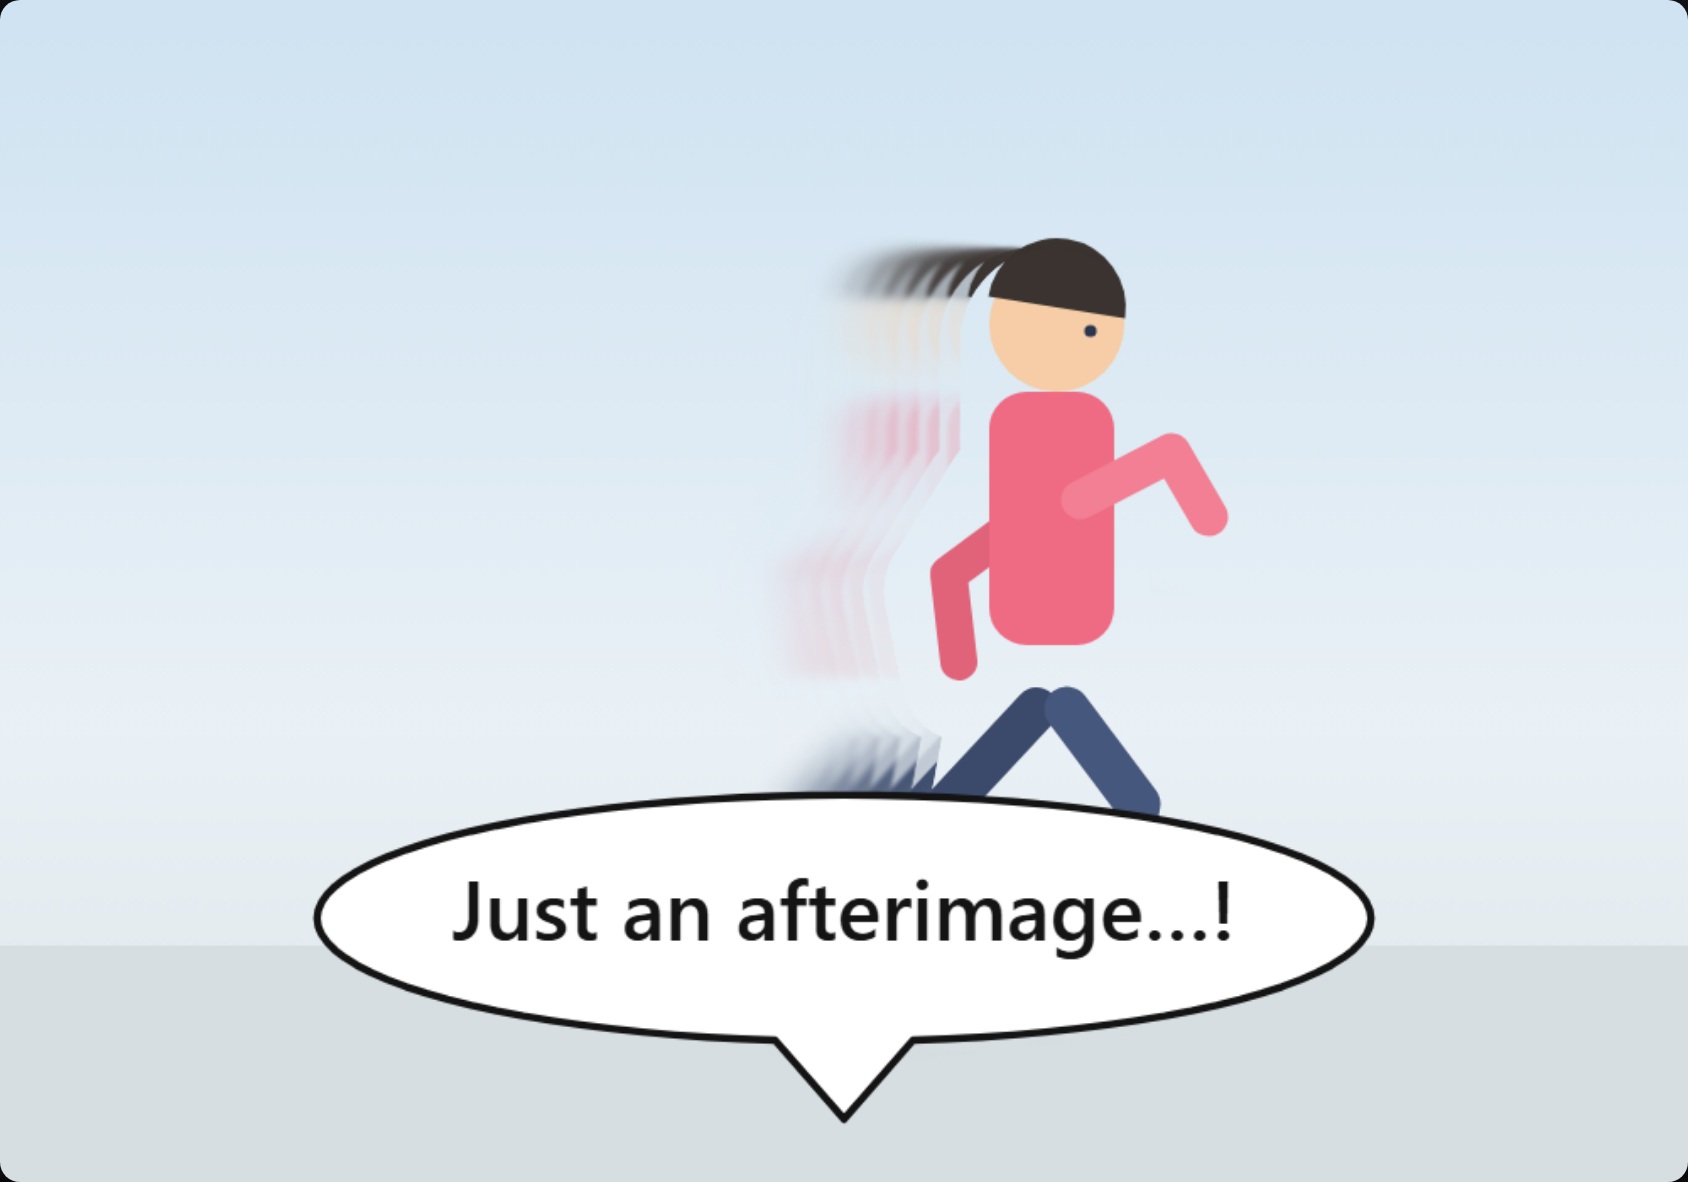
- Bubble shape — five kinds: None / Oval / Rounded / Shout / Thought. “None” draws no bubble, just outlined text.
- Bubble size — scales the bubble together with the text.
- Show the tail — whether the pointer sticks out. Drag the tip of the tail on the image to aim it anywhere, so you can show who is speaking.
10Saving the image
Press “Save image” at the bottom right of the “2 Effects” screen (at the bottom on a phone) and the finished picture downloads as a PNG file.
- The file is named zanzou_(number).png.
- What gets saved is the image with the effects applied. The paint color and the editing guides are not included.
11Using it on a phone
On a phone the image sits on top and the tool panel below. The flow is exactly the same as on a computer.
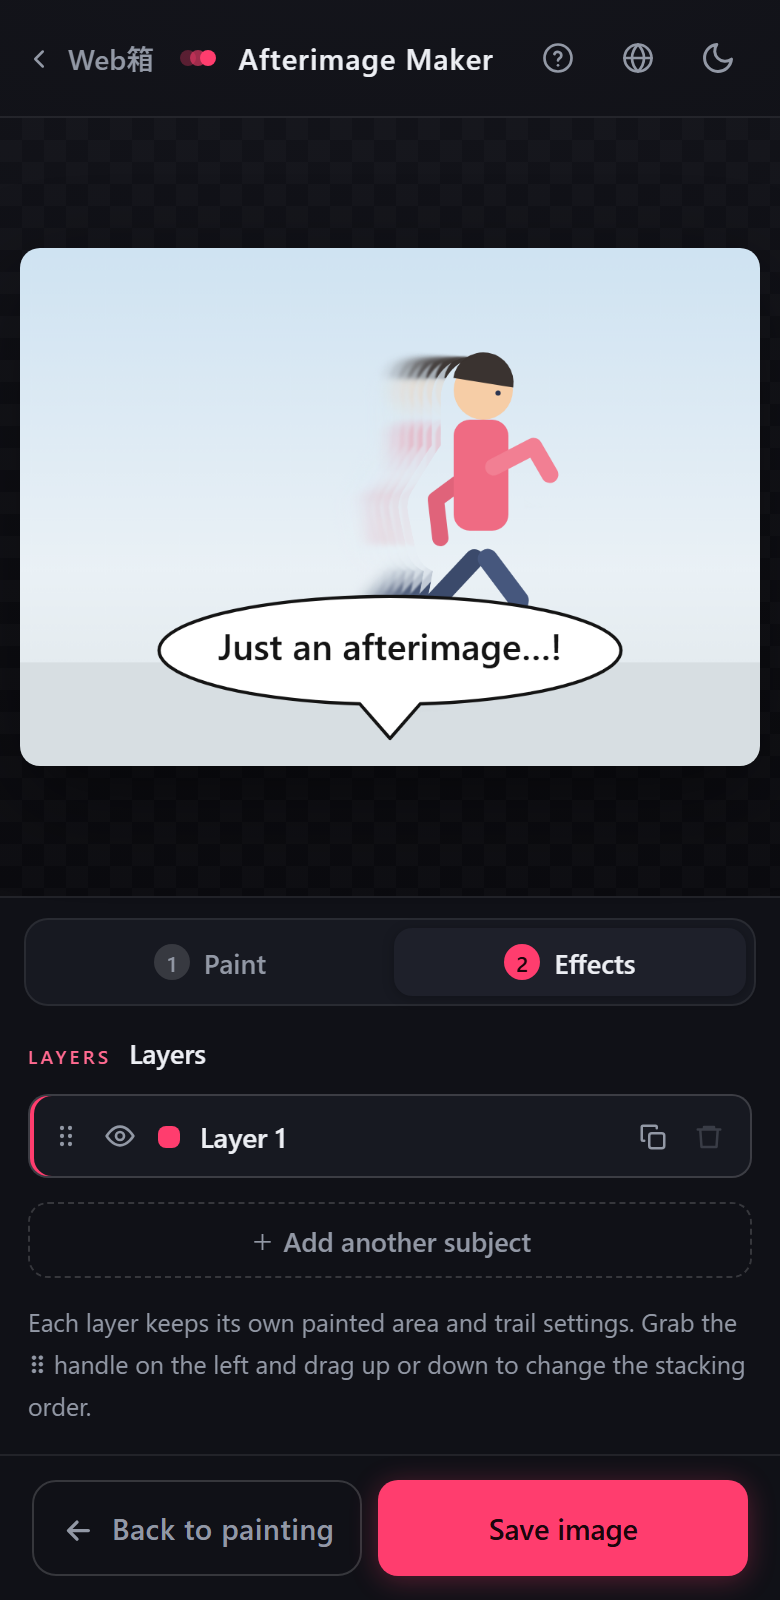
- Press and hold before you paint: a circle appears at your fingertip so you can see the area you are covering.
- To reorder layers, hold the ⠿ on the left and move it up or down.
- The tool panel scrolls vertically. The step switcher at the top and the save button at the bottom always stay visible.
- To move the halo or a bubble, drag with your finger on the image.
12Good to know
- Stacking effects on one subject — add a layer with “+ Add another subject”, paint the same spot again and give it different settings to combine two trails. The first layer keeps its own settings.
- Light / dark — switch with the 🌙 / ☀️ button at the top right. Your choice is remembered next time.
- Language — pick Japanese, English, Spanish or German from the globe icon at the top right. Your choice is remembered next time.
- When in doubt, press “Reset” — painting and layers go back to the start. You do not need to load the image again.
- Feel free to post what you make — everything is created on your own device. Do remember to be considerate of anyone else who appears in the photo before publishing it.